

by Elise Marquam-Jahns
With all that’s going on in the world right now, many of us are spending more time at home, self-isolating or minimizing in-person social interactions. But during a stressful period like this, it’s even more important to take some time for self-care; to find ways to lift our spirts so we minimize our stress levels. One way to do this is to focus on things that bring fun and joy into our lives—that simply make us smile. So I hope today’s article and video will give you an opportunity to simply focus on something fun that you might want to try.
Pro-Makeup Artist Tips – Contouring
Many of the women I’ve talked with in my makeup techniques classes for women 50+ and during makeup consultations have said that they hesitate to try contouring. And I can certainly understand why. After all, most of the time when we see contouring done (which is almost always on younger faces), it looks pretty dramatic and extreme and most of us are looking for a more “wearable” look.
Other concerns I often hear are that contouring takes too much time, it’s difficult to do right and it feels a bit intimidating and it’s also difficult to know—and find—just the right products to use.
But the good news is that once you learn the technique and try it a few times, you’ll be able to do it quickly and easily. And, you certainly don’t have to contour your entire face. What works best for most of us is to determine which area of our face would benefit the most from contouring and then just focus on that one area. And, there are only three things you really need in order to do it—which we’ll talk about in a moment.
So in this article (and in the video), we’ll talk about:
- Why we should consider contouring one or more areas of our face
- When to do it—before or after foundation
- What colors and makeup formulations to use and how contouring is different from bronzing
- Tools you need
- Where to contour
- And, how to do it (The video will provide a demonstration)
Why Should We Consider Contouring?
Here’s what contouring can do:
- It flatters and shapes your facial structure
- It helps you reclaim your cheekbones; they will look more prominent and lifted, drawing more attention to your eyes
- Helps your face look more youthful and toned
- It slims and firms your jawline
- Can help make a high forehead look less prominent
- It can help smile lines look less prominent—and
- It can take years off your face
To envision how it works, think for a moment of the famous painting of Mona Lisa. The artist used both light and shadow on her face to create beautiful dimension and interest. Then imagine this painting without shadow or depth. It wouldn’t look nearly as interesting or beautiful.
Be sure to check out Elise’s new YouTube channel which specifically focuses on makeup tips, techniques, and product reviews for those of us 50+. And don’t forget to subscribe!
When Do You Contour—Before or After Foundation?
You can contour before or after foundation—but I think for most of us it’s easiest to do it after we apply our foundation.
What Colors and Makeup Formulations Do You Use and How is Contouring Different from Bronzing?
We use both light and dark matte colors to contour. The rule of thumb is to pick a shade 1-2 shades lighter than your foundation for light contouring and a shade 2-3 shades darker than your foundation for your dark contouring.
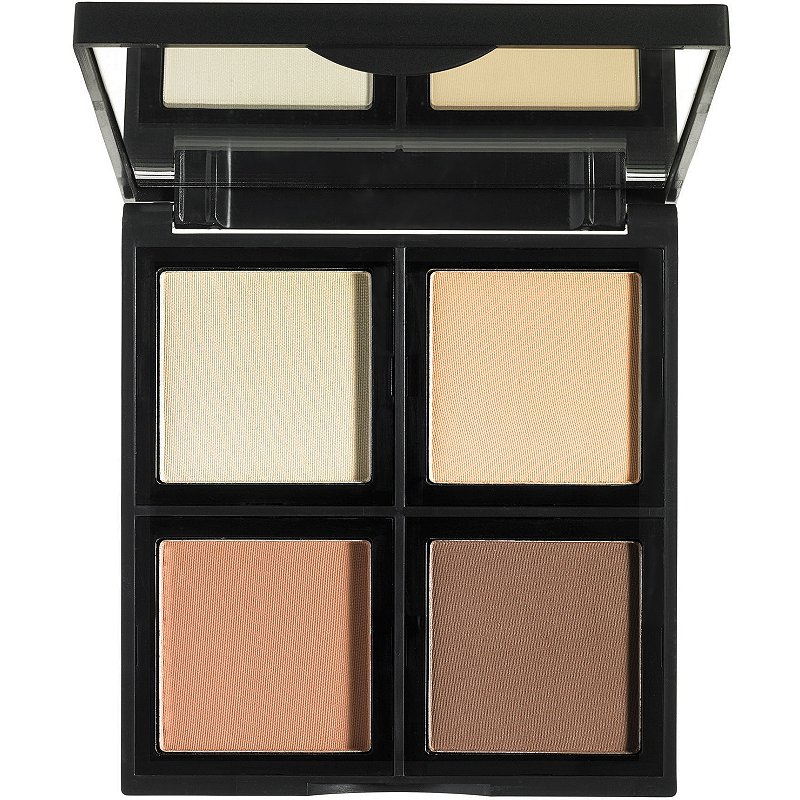
You can contour with cream or powder products, but my preference is to use cream since it can look really natural and blend in beautifully with your foundation.
You can use specific contouring kits like the Elf Contouring Cream Kit, or use individual products like the Wet ‘n Wild Contour stick. Many different makeup brands carry contouring products. Or, you can just pick a foundation shade that is 1-2 shades lighter than your foundation for your light contouring shade and a foundation shade that’s 2-3 shades darker than your foundation for your dark contouring shade.
Both bronzing and contouring add depth to our faces, but the purpose is different. When we use a bronzer, we’re adding warmth to our skin—usually on the high points where the sun would naturally hit our skin: across our forehead, nose, on cheekbones and the chin.
When we contour with our dark color, we’re adding shadows to make various areas of our face recede in order to give our face more depth and dimension. The areas of our face where we apply the lighter contouring appear to come forward.
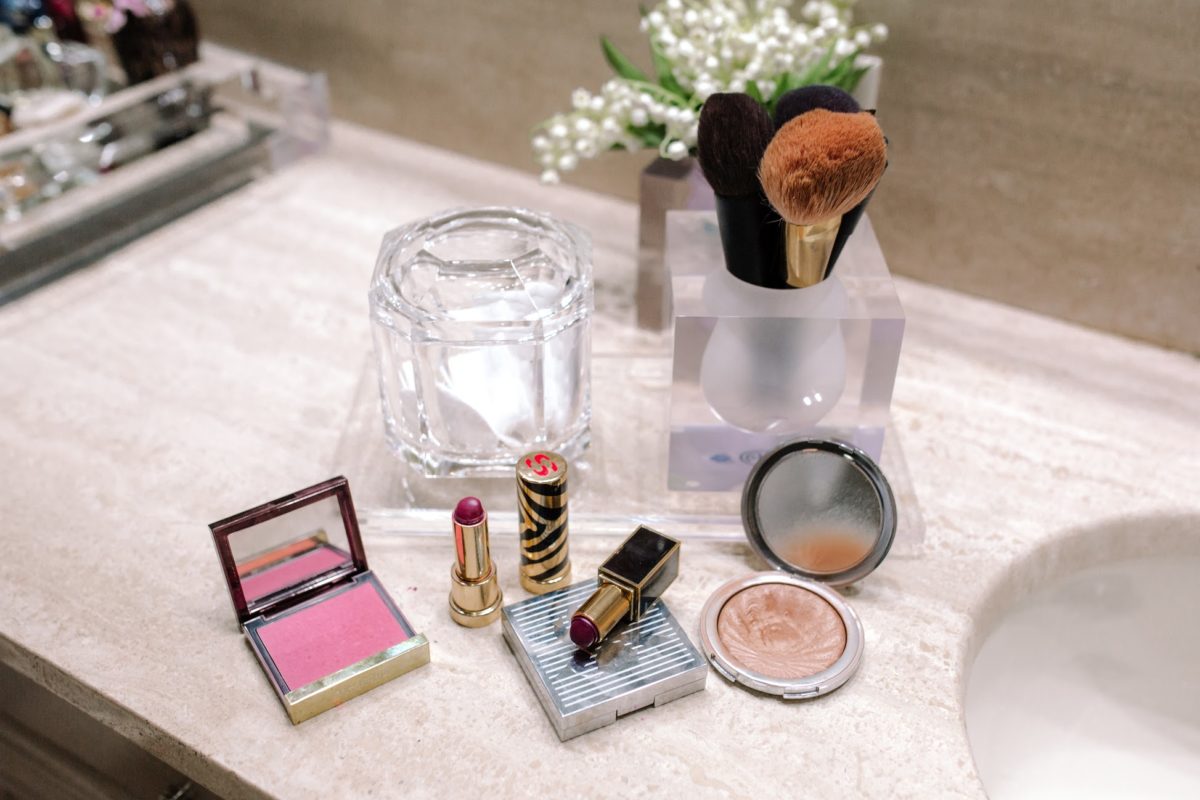
What Tools Do You Need?
In addition to your light and dark contouring shades, it’s also helpful to have a brush not more than an inch wide. And it’s even more helpful if the brush is angled. Or, you can also use a wedge-shaped sponge instead of a brush.
Where Do You Contour?
Here are all the different places on your face where it looks beautiful to contour with your dark color:
- Your forehead if it’s more than 2-3 finger-widths high
- Under your cheekbones to reclaim your cheekbone area by making it look more prominent
- Along the sides of your nose to make your nose look thinner
- Along your jawline to make it look more toned and firm (as it used to look!)
- Under your bottom lip to make it look fuller
For your light color, contour:
- Down the center of your face
- In an upside-down triangle under your eyes
- Along your nasal labial folds (also called smile lines) to bring them forward so they look less prominent
But you certainly don’t have to contour all of these places; if you want to save time but still use the power of contouring to help you look your best, pick the one or two places to contour that will help you the most.
For many of us, this may be under our cheekbones and along the jawline. But if you’ve always been self-conscious about the width of your nose, contouring your nose might be your first choice.
How to Contour – Video Demonstration
One easy way to remember where to apply the dark contouring on your forehead, cheekbones, and jawline is to start in the middle of your forehead with your brush, then bring it down the side of your forehead, under your cheekbone, back toward your ear and then along your jawline. With this sweep of your brush, you’re creating a “backward C” as you move from your forehead to under your cheekbones. And then as you bring your brush back toward your ear and then under your jawline, the “backward C” becomes a “backward 3.”
I hope these tips were helpful and you might consider giving contouring a try to see what you think.
 Elise Marquam-Jahns is a professional, working makeup-artist who is passionate about helping women 50+ get their glow back. In addition to her work as a makeup artist for a major cosmetics line, she founded Boomer and Beyond Beauty and recently launched her “Boomer and Beyond Beauty with Elise” YouTube channel for women 50+. Elise is also an author and speaker and hosts Normandale Community College’s monthly Learning Well Edge Talk Radio show where she interviews experts in the field of health and wellness.
+ show Comments
- Hide Comments
add a comment